Wednesday, October 4, 2017

Knitted Scarf:

Ear Flapping Scarf
Friends,
This scarf is specially made for the women (of course men also can wear it) who don't like to wear hats. In India generally elder women don't prefer hat for the protection in winter, for them this is the best solution. Also after pregnancy it is said that the pregnant woman should be protected from strong wind for which grandma in the house ask her to tie big scarf and cover her head and ear and for this purpose the scarf is perfect.

I am also emotionally attached with this scarf.

Sunanda kaku, my anti under whose  guidance I have knitted my first sweater. She was no more but before nearly two years, she had health problem and was unable to go any where. Being a great lover of knitting, for time pass she wanted to knit this scarf which she herself had made years ago but she could not remember the pattern of scarf. So one day she showed me the green color scarf which she had knitted and asked me whether I could knit it by just seeing. As she was my Guru (teacher) in this field, I decided to try it and it worked. She was really very pleased when I showed her this scarf which I have knitted and she decided to knit a similar scarf but she could not complete it. So this pattern is in her memories...

Material: One skein wool of any color, UK 10 number and UK 12 number needles.

Special Abbreviations: kfb: knit the stitch from front (as usual knit) and also knit the same stitch from back side thus one stitch increases,
K2tog: knit two stitches together
pm: place marker
sm: slipmarker

Instructions: Cast on 8 stitches with 12 number needle
Now Slip 1, K 7
( Slip the first stitch for each row)
Repeat above row, for 49 more times. Belt is ready. Now move to 10 number needle.
Row 1: Sl 1, K 1, kfb next stitch, K 2, kfb next stitch, K 2. (Total 10 sts)
Row 2: Sl 1, K all (All even rows as row 2)
Row 3: Sl 1, K 2, kfb next stitch, K 3, kfb next stitch, K 2 (total 12 sts)
Row 5: Sl 1, K 2, kfb next st, K 3, kfb next stitch, K 2, kfb next stitch, K 1. (total 15 sts)
Row 7: Sl 1, K 3, kfb next st, pm,  K 4, kfb next st, pm, K 3, kfb next st, pm, K 1. (total 18 sts)
Row 9: Sl 1, K 4, kfb next st, sm, K 5, kfb next st, sm, K 4, kfb next st, sm, K 1. (total 21 sts)
Row 11: Sl 1, K 5, kfb next st, sm, K 6, kfb next st, sm, K 5, kfb next st, sm, K 1. (total 24 sts)
Note that each time 1 stitch increases before every kfb. Just as in 7th row knit sts before three kfb stitches are 3,4,3,  in 9th row they are 4,5,4  in 11th row they are 5,6,5, in 13 th row they will be  6,7,6 and so on. Repeat till the Knit stitches before three kfb stitches will be 37, 38 and 37.                  Thus total stitches will be 1+37+2+38+2+37+2+1 = 120.
Next 15 rows all knit.
Now we are going to decrease the stitches.
Row 1: Sl 1, [ knit till two stitches to marker, then K2tog those two stitches, sm,] Repeat [ to ] two more times, K 1 (total  117 sts)
Row 2: Sl 1, K all
Note that three stitches decrease in each odd rows. Repeat row 1 and 2 till 12 stitches only remain on the needle.
Next row: Sl 1, K 2, K2tog, K 3, K2tog, K 2 (total 10 sts)
Next row: Sl 1, K all.
Next row: Sl 1, K 1, K2tog, K 2, K2tog, K 2 (total 8 sts)
Next row: Sl 1, K all
Next row: With 12 number needle Sl 1, K 7
Repeat this row 49 more times.
Cast off.


Monday, October 2, 2017

Multi-Color Tatted Edging:
We always think that our gift should be special, it should be different from others. How is the idea of presenting this "handkerchief with colorful edging" along with the gift to bride for the beginning of the colorful marriage life! I guarantee that the bride will be too happy to see this hand made tatted edged handkerchief.


Material: Red and Green coats threads No. 40, one light lemon color handkerchief with machine picots done on all the four sides, needle to sew.

Instructions: Fill two shuttles one with red and other with green color threads.
Start with Red color thread, R of 5 ds, 3 p, sep by 5 ds, 5 ds, close.
*[R of 5 ds, join to the last picot of the of the previous R, 5 ds, 2 p sep by 5 ds, 5 ds close] repeat twice. Three petal red flower is ready. Turn the work
With green color thread, Chain of 3 ds, 5 p sep by 3 ds, 3 ds. Turn the work.
Now with green color shuttle, R of 6 ds, join to the last picot of the three petal red flower made.  6 ds, close.
With green color R of 6 ds, 1 p, 6 ds close. Turn the work.
Chain of 3 ds, 5 p sep by 3 ds, 3 ds. Turn the work.*
Repeat from* to * till the required length.
The letter P is tatted with two colors using the technique of Split Ring (SR) with two different colors red and green. For SR, you can watch the video,
https://www.youtube.com/watch?v=TrB6ZIVcsq0

Split ring for the letter P


Thursday, September 28, 2017

Beaded Triangular Shawl:
Triangular shawl with beads


The availability of ready made cheap woolen cloths causes the interest-reduce in the traditional arts like knitting, crocheting particularly in India. This is painful but a fact. Before 30-40 years, this was not the situation. When I joint the institute in 1985, we have a group of three friends (myself and Prabha from my Mathematics department and Rajani from Home science department) who wear interested in knitting, crocheting etc so when I made this beaded triangular shawl for my sister to wear in her marriage, then we all three had  knitted the small version of that as a scarf to wear in winter because at that time our college timing was in the morning at 7 o'clock. What ever we knit, we share and enjoyed it collectively.
Today when I remember those days I feel that "Knitting Together" gives a special pleasure.

Scarf

Size of the shawl: 6 ft in width and 2 ft 10 in height

Material: Vardhaman 4 ply wool 250 gm. brown color, artificial small size purls, knitting needles preferably circular, UK 10 number i.e. 3.25 mm

Note: Underlined stitch is middle one

Instructions: Shawl is started from the center. Cast on 4 stitches.
Row 1: k2, YO, k2 (total 5 sts)
Row 2: k2, p1, k2
Row 3: k2, YO, k1, YO, k2 (total 7 sts)
Row 4: k2, p3, k2
Row 5: k2, (YO, k1) 3 times, YO, k2 (total 11 sts)
Row 6 and all even rows: k2, all p till last two stitches, k2
Row 7: k2, YO, k3, YO, k1, YO, k3, YO, k2 (total 15 sts)
Row 9: k2, YO, k5, YO, k1, YO, k5, YO, k2 (total 19 sts)
Row 11: k2, YO, k1, YO, k5, (YO, k1) 3 times(second of this is middle one), YO, k5, YO, k1, YO, k2 (total 27 sts)
Row 13: k2, YO k3, YO, sl 1, k1, PSSO ( slip one st, k1 and pass the slip stitch over), k1, k2 tog, YO, k3, YO, k1, YO, k3, YO, sl 1, k1, PSSO, k1, k2 tog, YO, k3, YO, k2 (total 31 sts)
Row 15: k2, YO, k5, YO, sl 1, k2 tog, PSSO, YO, k5, YO, k1, YO, k5, YO, sl 1, k2 tog, PSSO, YO, k5, YO, k2 (total 35 sts)
Row 17: k2, YO, k1, YO, k5, YO, sl 1, k2tog, PSSO, YO, k5, (YO, k1) 3 times (middle one is center), YO, k5, YO, sl 1, k2tog, PSSO, YO, k5, YO, k1, YO, k2 (total 43 sts)
Row 19: k2, YO, k3, (YO, sl 1, k1, PSSO, k1, k2tog, YO, k3) Repeat in the bracket till the central st comes, YO, k1, YO, k3, (YO, sl 1, k1, PSSO, k1, k2tog, YO, k3) Repeat this untill the last two sts remain, YO, k2.
Row 21: k2, YO, k5, (YO, sl 1, k2tog, PSSO, YO, k5) Repeat in the bracket till the central st comes, YO, k1, YO, k5, (YO, sl 1, k2tog, PSSO, YO, k5), Repeat till the last two sts remain, YO, k2
Row 23: k2, YO, k1, YO, k5, (YO, sl 1, k2tog, PSSO, YO, k5). Repeat in the bracket till the central three sts remain then (YO, k1) 3 times (middle one is the center), YO K5, (YO, sl 1, k2tog, PSSO, YO, k5). Repeat in the bracket till the three sts remain then YO, k1, YO, k2

Repeat the rows 19th, 21st and 23rd till the required height of the shawl.
For shawl I have made knitted till 46 diamonds are formed at the center and for scarf we had made 16 diamonds in the center.

Next row: k1, YO, k2tog, last st k1
Last two rows all k.
Bind off.
In order to decorate the shawl more, I have stitched some artificial beads (purls)as shown in the photo.
If you want, you can increase the beaded lines starting from center also also you can attach tassels on two sides.
Wear this shawl and you will look gorgeous.

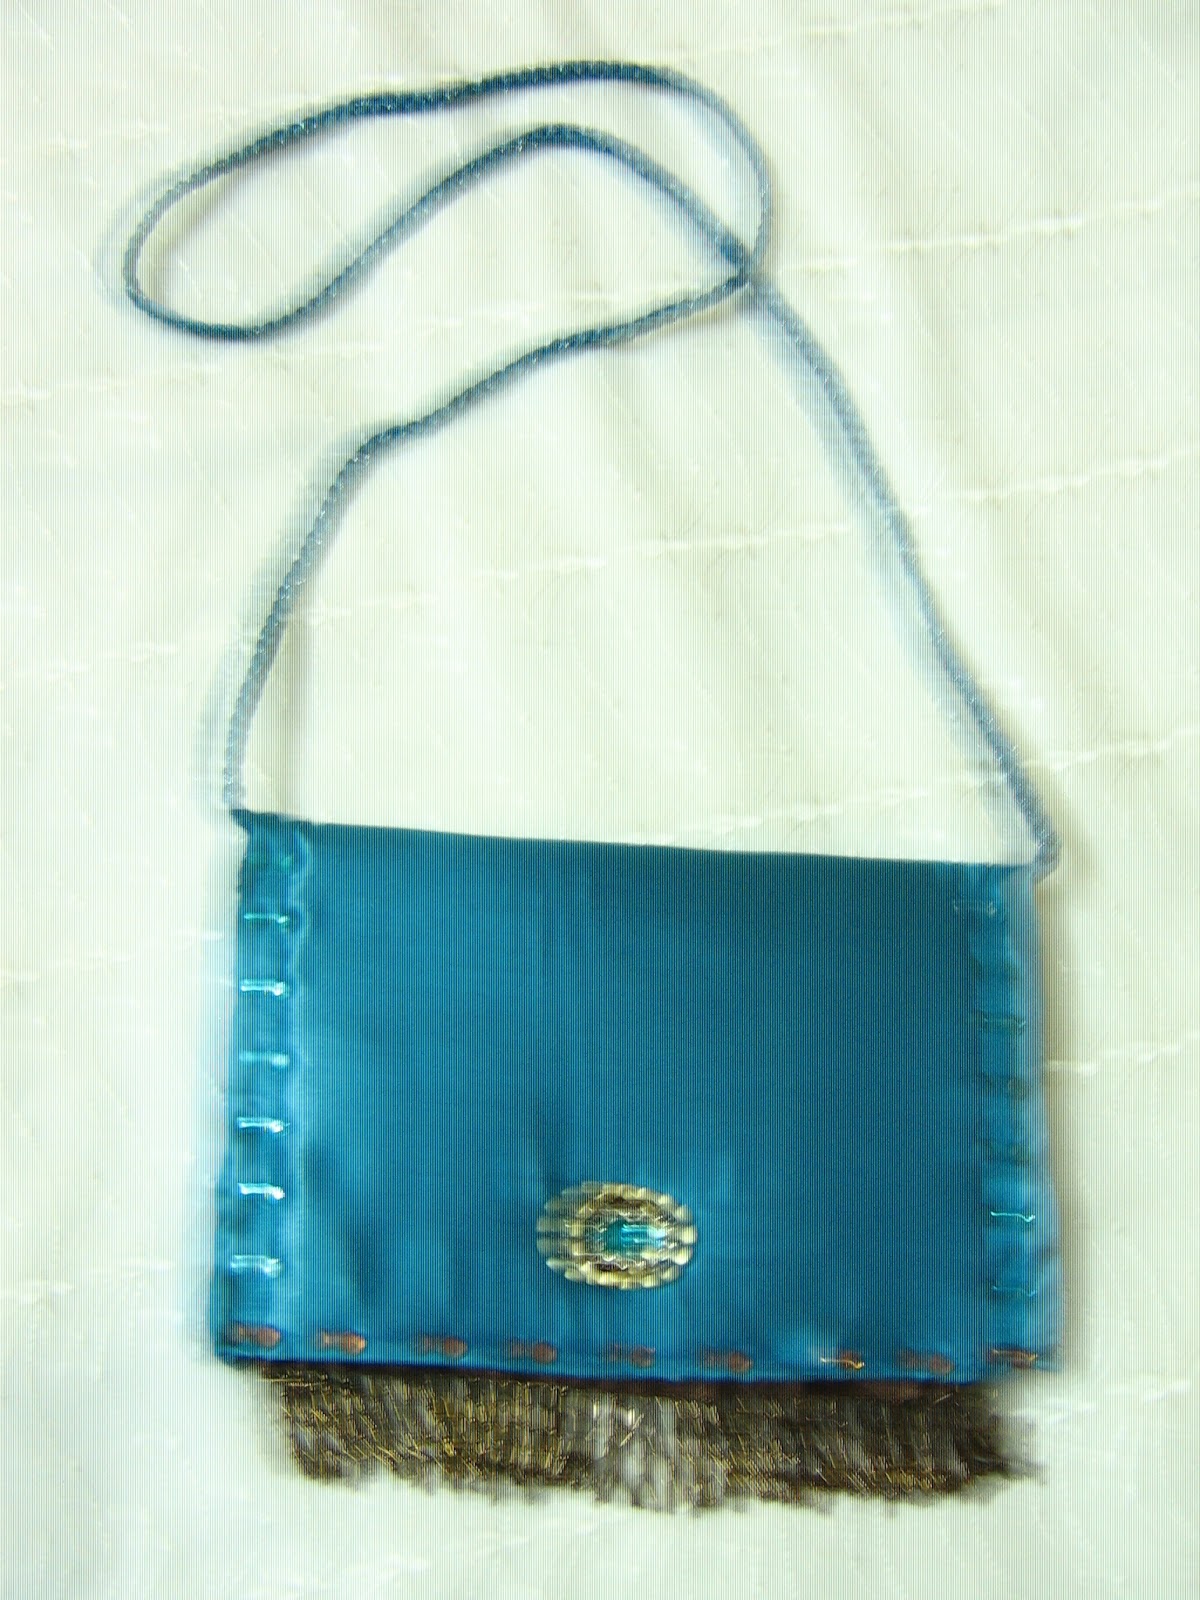
Bag 5 and 6 Sewed with Cut Pieces

Bags Sewing:
Hand bag

simple sewed bag for shopping


Sewing is one of the oldest art which can be seen since Paleolithic age. When I was 15 or 16 years old it was just routine to train girls in sewing (particularly in lower middle class families in India) so that at least she should be able to save that much money (not aiming her best career😢). But any way I was little bit trained in sewing. I used to sew my own blouse, my daughter's dresses till she was in fifth grade. Then it became difficult for me due to time problem and I leave it. Still my love about this art motivates me some times. Recently I sewed two simple bags.

For the left hand side bag, Bakram cloth is used as a lining to keep it stiff. One small pocket is from inside.
Lace is stitched at the bottom and show button is fixed.
I have also sewed variety of dresses. Some old memories...
Salwar Kurti
Maxi

Tuesday, September 26, 2017

Tatted Edging:
Handkerchief with tatting lace
Initially in England, the lace made by the technique of knot was called knotting in France it was called frivolet and in America it was called tatting. So the art of tatting is mostly used for edging. It increases the beauty of the garment.

I have made number of handkerchiefs with tatted edging. In marriage ceremony matching handkerchiefs on every saree of the bride with different type of edging adds to the beauty and shows the creativity of the family.
This is one of the handkerchief edging I have made.
Close up


Material: One handkerchief with machine picot done, Madura coats thread no 20 with  matching or contrast matching color, shuttle, needle and thread for sewing.


Instructions: Wind the thread to shuttle.
[R of 6 ds, 1 p, 4 ds, 1 small p, 2 ds, close.
R of 2 ds, join with the small picot of previous ring, 5 ds, 1 p, 5 ds, 1 small p, 2 ds, close.
R of 2 ds, join with the small picot of the previous ring, 4 ds, 1 p, 6 ds, close.
Flower of three rings is ready.
Turn the work, ch of 16 ds] Repeat [ to ] till 
                                                                                       the required length.


See the corner
Join the thread at the middle of three rings         flower, { ch of 2 ds, 1 small p, 3 ds, 7 p sep by 2 ds, 3 ds, 1 small p, 2 ds, join with the middle of next three ring flower}. Repeat { to}             through out the length.

Stitch the lace to the handkerchief as shown. Be careful at the corners. Adjust the distance so that the corner should be stitched as shown in third photo.


Instead of No. 20 thread if we use thread no 40 then the same edging looks more delicate. See the last photo.
Tatting for Magazine Holder:


Magazine Holder
Tatting: Tatting is a beautiful art of knotting the thread. There are variety of types in tying a knot and each one has its own importance. Oh! it means knot seems to be important, right from sailor to mathematicians (in Mathematics we have learnt "Knot Theory").

In Indian wedding ceremony also, "Tying Three Knots" is an essential part of the ceremony which indicates the significance of commitment by three means, commitment by mind, by words and by act. In simple language we can say that those knots tied in the marriage are nothing but bond of love expected to be tight through out the life. The art of tatting is also so delicate, beautiful and attractive that once we are tied by the knot in tatting we shall never give up tatting.

I learn tatting knot when I was 20 years. My mother's niece, Aparna had shown my mommy different delicate tatted flowers, laces etc. Mommy was so impressed and as usual she asked me to go to Aparna and learn that. Thus I started my tatting. Initially I have made number of single shuttle flowers and decided to sew them to sari, the dress I used to wear, but I don't have any photo of them.

Later on I learnt how to work with double shuttle or one shuttle and one ball and I worked a flower using one shuttle and one ball.
I make such 16 flowers and attach them to form a beautiful Magazine holder.

Material:  Anchor Madura Coats thread of number 20, shuttle, Plastic ring, Black cotton cloth 50 cm.

Final Size of the Flower: 1.5" diameter
Instructions: 
[Ring of 2 ds, 6 p sep by 2 ds each, 2 ds, close the ring
Turn the work. Chain of 3 ds, 9 p sep by 2 ds, 3 ds
Turn the work. Ring of 2 ds, 1 p, 2 ds, join with the second picot of the first ring, 2 ds, 4 p sep by 2 ds each, 2 ds close the ring.]
Continue like this till 7 small rings are worked. At the time of last ring join it with 6th ring as said above , work 2 ds, 1 p, 2 ds, 1 p, 2 ds then join with the 5th picot of the first ring, work 2 ds, 1 p, 2 ds then close.
One flower made.
Make one more flower till 6 chains and 7 rings are completed. At the time of seventh chain join the middle picot (out of nine) with the middle picot of the 9 picot chain of the flower which is already worked, then work one ring again at the time of eighth chain also join the middle picot of 9 picots with the middle picot of the adjacent chain of the flower which is already made.
In this way join these 8 flowers one with other to make a strip as in the photo. Make two such strips.

Measure the length of the strip of flowers formed if it is 12" then take black cloth and cut strips of 25" x 4" (the size may be changed as per the length of the strip of eight flowers).  Sew them turn. Press it and attach 8 flower strip to that on one side. Pass it through the ring and sew ends with each other neatly.
Similarly make another one and your Magazine holder is ready.

(I apology for the bad photo because it is not the photo when it is made. I use it in my house from so many days and now I have that photo so sorry for that.)


Saturday, September 16, 2017

Crochet Furniture For My Grand Daughter:


Childhood memories are always special for every one. We used to play "Bhatukali", a game generally girls played. Bhatukali was played with set of kitchen utensils in small size and the girl supposed to be head of that family with dolls as her kids etc. In India marriage is very important and a big ceremony so in Bhatukali also there happens to be Doll's marriage and all. We enjoyed this play a lot with my sister Sandhya and 2 friends.With some difference, I think it must be played all over the world.

Bhatukali of my daughter


I also remember that we used to make a doll because we didn't have beautiful dolls as Barbie etc. We used to bring chindhya, stuff or small pieces of cloths (which remain after cutting of the dress) from one of our familiar tailor, Jadhav and then make dolls, one girl and one boy. Then arrange their marriage. Later on I also got a plastic doll and so on...  Childhood memories makes every one nostalgic.

The reason that so many thoughts thronged in my mind is that from last 5 months  I am also with my grandson and grand daughter. Totally in aaji's roll (grandma's roll).

In between I saw the photo of Doll's Furniture by Annie's Attic, I was mad, one complete Saturday I was trying to make sofa chair. To some extend it was OK but not same as the photo. Then I told this to my daughter in law, Priya and shown that Annie's furniture photo. She was also so impressed that she said, I will buy the pattern for you then she bought from Etsy and the day I got that pattern, when ever I had time I took crochet needle in my hands for this set and finally it was complete. I was so happy, perhaps more happy than my granddaughter would be.

The soft copy of the pattern also has one magazine basket, round pillow and one afghan which I have not crocheted. Instead I crocheted "Flower Pot with flowers" which is not in that pattern.
No need to say that my grand daughter was so happy.

Through this blog I want to say "A Big Thanks to Annie's Attic" for creating such a wonderful pattern. Thanks once again.

Same furniture from different angle

Crochet Star / Flower Shaped Bag as per Trending Fashion

  Hello friends,  Since Diwali is at the door, I am making various Home Decorative items or Useful for Diwali Decoration. But along with Hom...