


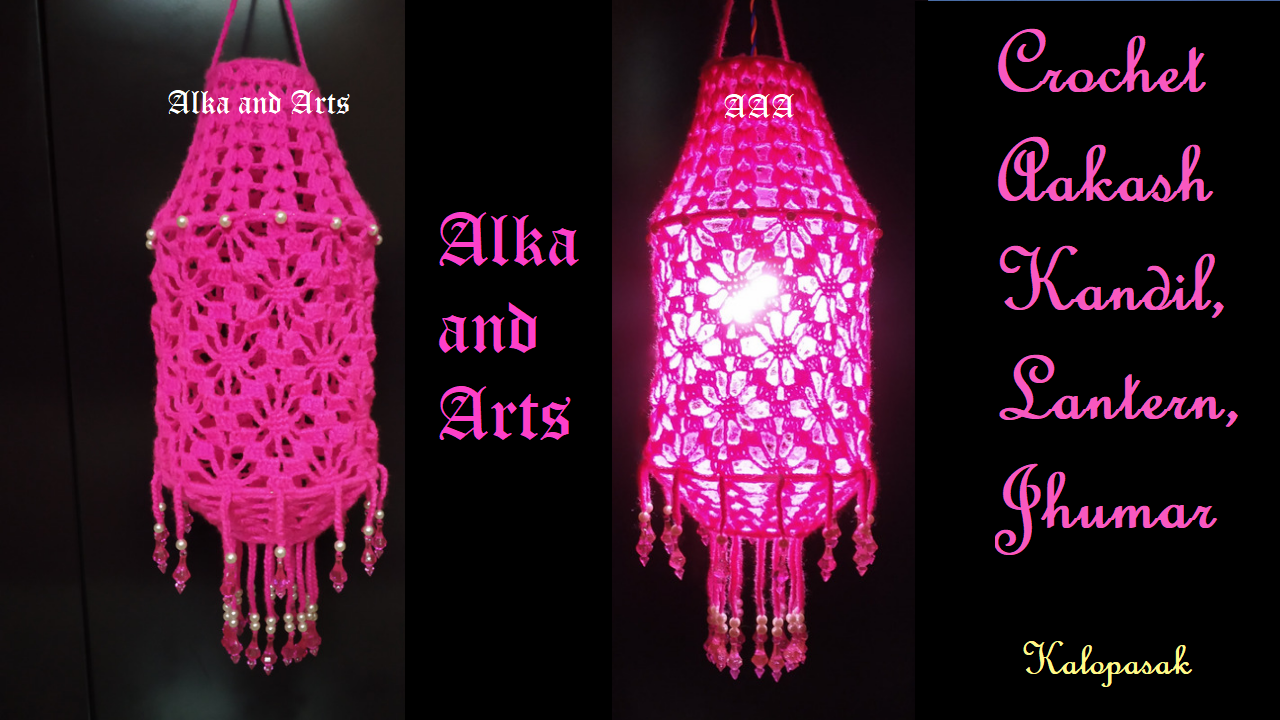
Diwali is just on the door and all my friends are busy in preparing for this great festival of light, a very special festival in which one of our ENERGY (LIGHT), out of 5 supreme energies (Panch mahabhut), is worshipped. Such type of lamp shades called Aakash Diva or Aakash Kandil are seen to be hanging in the front yard of every home. Generally we used to bring such paper Aakash kandil and decorate our house but this year I decided to make it by my own and here is the result.
I hope that you will love to make this. Once the pattern is known, it is very easy to make.
For this you will need, 4 ply yarn 120 gm, crochet hook 3.5 mm, steel rings two with diameter 8" or 8.5" and two with diameter 3" or 3.5". You will also need 42 pearls 12 mm size and elongated plastic beads as shown.

Pattern:
R1: Wrap small ring by sc 98. Number of scs should be even multiple of 7.

R2: (shell in 1 st, skip 6 sts) rep, cl (14 shells)
Shell means 3dctog, ch4, 3dctog.

R3: (shell on shell, ch1) rep till end, cl.

R4: same as R3.
R5: (shell on shell, ch2) rep till end, cl.
R6: same as R5.
R7: (shell on shell, ch3) rep till end, cl.
R8: same as R7.

Attach big ring with (6sc in 4ch-sp, 5 sc in ch3-sp) rep till end.

Middle design:
R1: Ch1, (sc 5 in 6sc group means inside shell, ch5, dc4 in next 6sc group, ch5) rep till end, cl.

R2: sl st till second sc then (means skip first sc-st, sc 1 in 3 sts, skip last sc-st, ch5, dc3 in ch5-sp, dc on dc, ch2, dc on last dc-st, dc3 in space, ch5) rep till end, cl.

R3: ch4 as a treble on middle sc-st, (ch3, dc3 in space, dc on dc, ch4, tr1 in ch2-sp, ch4, dc on dc, dc3 in space, ch3, tr1 on middle sc-st) rep till end, cl.

R4: sl st in gap, (dc 3 in sp, dc on dc, ch4, sc1 before tr, sc 1 on tr-st, sc 1 after tr, ch4, dc on last dc-st, dc 3 in sp, ch2) rep till end, cl. (first dc means ch3).

R5: ch3 for first dc, [ch5, sc 5 (one to left and one to right of 3 sc in previous round) ch5, dc on dc, dc 2 in ch2-space, dc on dc] rep till end, lastly dc 3 in gap, cl.


R8: sl st 3, dc4 (1 on dc, 3 in sp, ch2, dc 4 (3 in gap1 on dc), ch5, sc1 before tr, sc 1 on tr-st, sc 1 after tr, ch5, dc 4( 1 on dc, 3 in gap), ch2, ) rep till end, cl. (first dc means ch3).

R9: sl st 3, [dc on dc, dc 2 in ch2-sp, dc on dc, ch5, sc 5 (one to left and one to right of 3 sc in previous round) ch5] rep till end, cl.
Repeat rounds 2 to 9.

Join big ring by sc sts, sc 1 in each st, sc 5 in ch5 sp.

R1: (shell in mid of dc 4, ch3, shell in middle sc-st, ch3) rep till end, cl.

R2: (shell on shell ch2) rep till end, cl
R3: (shell on shell, ch1) rep till end, cl
R4: shell on each shell.cl
Make 14 pieces with pink bead, 2 pearl, ch15.

Also make 14 pieces with pink bead, pearl 1, ch10.
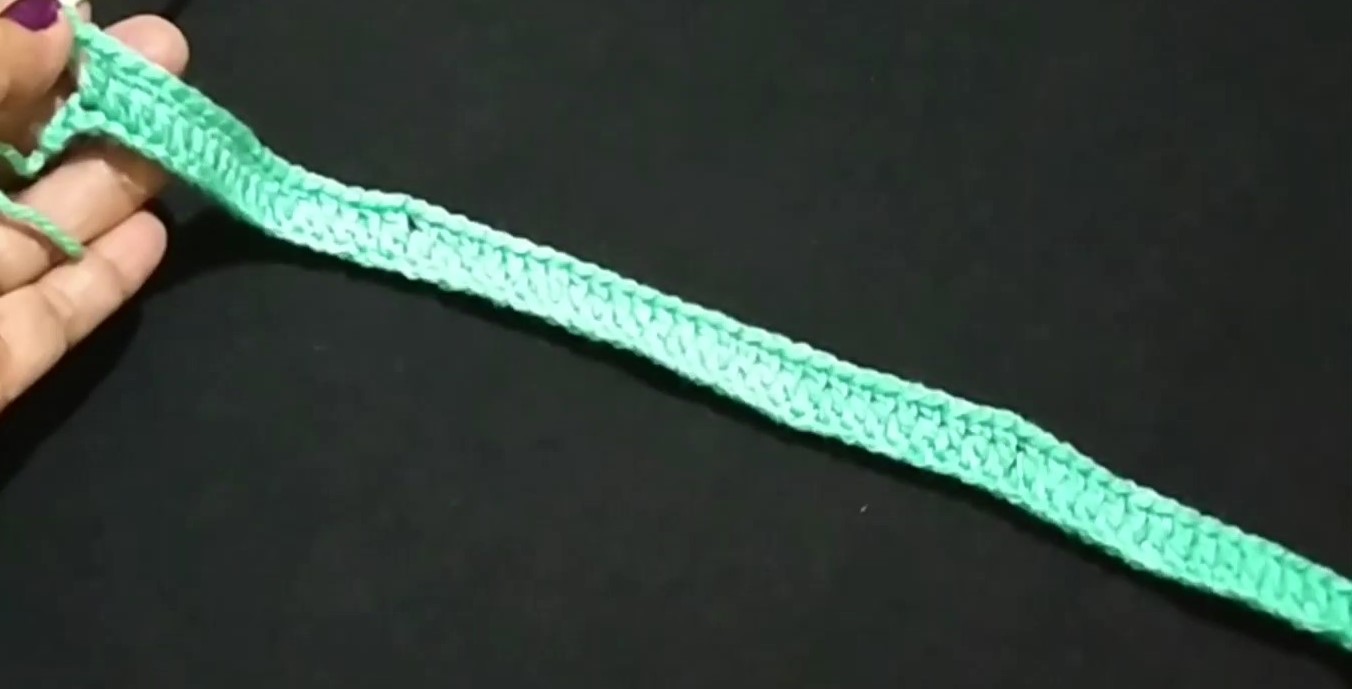
Join bigger in lowest round and with chs 10 to second bigger ring.

The most beautiful Aakash Kandil, Lantern is ready.
The following videos with English subtitles may help you in making this.
Part 1,

Many of my friends asked me that whether I got the pattern written some where or I made it by my own. So I give making of this flower.
Generally my method is, I used to bring that flower. For this one I asked Namdev (our helper) to bring it from Varsha tai (wife of my mister's brother). He brought them.

Then I literally disect the flower (so sad, but has to)


I sketch the shapes on some paper. Actually it is so rough work, just for an idea of shape. Because flowers may not be available when I make it.

Then I try to make the shape. Ofcourse it doesn't happen at once. There are at least 2 trials and then it finalises. Then I make the video.
This method I used for almost all flowers I made.
Material: For this flower I used 3 ply yarn (light green, dark purple and white) and 1.75 mm hook.
Pattern: Make ch9,
R1: from second ch sc 1, hdc 1, dc 3, (dc2), dc 1, at corner st dc 5, on other side make, dc1, (dc2), dc3, hdc1, sc1, cl. (10+1+10 sts)

R2: Till central stitch work in between two scs or dcs. With green Ch1, sc1, hdc 1, dc2, (dc2). Change colour to purple, make (dc2) 4 times, dc1.
At central stitch dc3,
On other side, dc1, (dc2) 4 times, change colour to green, (dc2) dc2, hdc1, sc1, cl . (7Green+11Purple+1 central st+11purple+7 green).

R3: Insert wire if you want. With green ch1, sc 1 in 7 sts. Change colour to purple, sc1, hdc1, (dc3)3 times, hdc1, sc1, hdc1, (dc3) in each of the 3 sts, (dc4) in central st, (dc3) in 3 sts, ( till last 8 purple sts remain) then hdc1, sc1, hdc1 (dc3) 3 times, hdc1, sc1, change colour to green, sc 1 in 7 sts, cl.

White middle part: ch9,
R1: sc 1 in each st from second ch (8 sts)
R2 to R6: ch1 turn, sc 1 in each st, BO (8 sts)

Round up this white piece (roll it) and sew this at the middle part of the flower made.

Then with green yarn sew 2 sts at the bottom of flower.

The beautiful Gokarn flower is ready.
One correction that can be done is, while make white central rectangular piece, make it's border blue. This I realised when I saw the photo but the flower which I actually saw has totally white middle portion. Hence I made it white.
The following video may help you.
ETC: Enjoy the Creativity.

Here is the sweater I made for my grandson. He always likes cars on his sweater. Before this also I made one knitted sweater (with 2 cars) for him when he was just 2 years and he liked it so much that when he was bigger and the sweater didn't fit him, still he wore it.

So on his lovely order of Car-Sweater, now I made this by crochet. Here different method is used for developing it from neck. It is not developed as yoke pattern. So if you have to make it in different size then remember that you have to start with the chs whose length is equal to the red mark in the following photo.

In above sweater, width is 14”, height 19” and weight 335 gm.
Instead of car you can sew any appliqué as per choice of your kid.
Vardhamaan Drop Pill which is quite soft and 3.5 mm hook.
Pattern: Chs 65
R1: ch3, dc1 in 4th ch (means 2dcs in same st), ch1, dc 1 in 18 sts, ch1, dc 1 in 27 sts, ch1, dc 1 in 18 sts, ch1, dc 2 in last st (67 sts)
R2: ch3 turn, dc 1 in same st, (place marker in third ch), dc 1 in next, [(dc1, ch2, dc1) in ch1-sp, dc 1 in each of the next st till next ch1-sp] 4 times, dc1, dc2 in last st.
(Note that we made dc2 in first and last st in each even numbered row).

R3: ch3 turn, dc 1 in each st till next ch2-sp, [(dc2, ch2, dc 2) in ch2-sp, dc 1 in each st till next ch2-sp] 4 times, lastly dc 1 in each of the remaining sts.


R4: ch3 turn, dc 1 in same st, dc 1 in each next st till ch2-sp, , [(dc1, ch2, dc1) in ch2-sp, dc 1 in each of the next st till next ch2-sp] 4 times, dc1in each st till last st, dc2 in last st.
See how the front parts are developing, After each row 2 dcs are increasing in both front parts. Initially they are 2 then 4, then 6 ……
Repeat rows 3 and 4 till the required width of the sweater or length of shoulder

We increase till the width is 14” (see on back side).
I have to make 14 rows and I have 28 sts on front sides.
Now leaving sleeves stitches aside, take other sts together. Also because V shape of neck is not yet formed completely so go on increasing 1 st in first and last st, that means in both front parts.
Next row: dc 2 in first st, dc 1 in each st till ch2-sp, dc 1 in that ch2-sp, skip all sleeves sts, dc 1 in next ch2-sp, dc 1 in each st on back part till ch2-sp, dc 1 in that ch2-sp, skip all sleeves sts, dc 1 in next ch2-sp, dc 1 in remaining sts.

Next row: dc2 in first st, at under arm increase 1 dc on front side, dc 1 in each st, increase 1 st at under arm, dc 1 in each st till last st, dc2 in that.
Repeat increasing in first and last st till V shape of the neck is complete or total sts of two fronts equals to the back sts.
Now we have 31 front +62 Back +31 front= 124 sts
Next row: dc 1 in each st till end (No increase).
Repeat this row till the height is 17” from shoulder.

Border: For border design we need multiple of 3 +2 so
R1: On right side, Ch3, (fpdc 2, bpdc1) rep till last 3 sts, fpdc 2, dc 1 in last.
So that the design becomes symmetrical on both front parts.
R2: ch3, (bpdc2, fpdc1) rep till last 3 sts, bpdc 2, dc 1 in last.
Repeat R1 and R2 till the height of the border is 2.5”-3”. Total height is 19”.

For button band and button hole band:
R1: On right side, sc 1 along both sides and along neck side (approximately 2 sts in each dc)
80 sts are picked up for button band and button hole band.

R2: ch3, dc 1 in each st all over.
Place markers at button hole position.
R3: ch3, (fpdc2, bpdc1) rep, at marker 2fpdc, ch1, (2fpdc, 1 bpdc) rep, at marker 2fpdc, ch1, 2fpdc for 4 button holes then continue (2fpdc, 1 fpdc) till last 3 sts, 2fpdc, dc 1 on last st.
For the symmetry of button band and button hole band adjust the sts if needed.

R5: (right side) ch3, (2fpdc, 1 bpdc) rep, at each button hole make bpdc on dc of previous row, after all button holes done, (fpdc 2, bpdc1) till last 3 sts, bpdc2, dc 1 in last st.

R6: ch1, sc 1 in each st along bottom border, buttonhole band, neck band and button hole band, making sc 3 at corner, BO.

Sleeve: There are 54 sts left for each sleeve. We work row-wise in order to keep the design same.
R1: ch3 dc 1 in each st, increase 1 st at the starting and 1 at the end of this row at under arm. (56 sts)
R2: ch3 turn, dc 1 in each st
R3: ch3, 2dctog, dc 1 in each st till last 2 sts, 2 dctog (54 sts)
R4: ch3 turn, dc 1 in each st.
R5: same as R4
R6: same as R4.
R7: same as R3.
Repeat R3 to R6 rows till the sts will be 46.

Border:
R1: (RS) ch3, (fpdc2, bpdc1) rep till end, cl.
R2: (WS) che, (bpdc2, fpdc1) rep till end, cl
Repeat R1 and R2 3 or 4 more times.
Similarly make other sleeve.
The beautiful sweater is ready.
As my grandson wants car on his sweater, so I made one car appliqué and sew it as shown. Then also made some chs and sew it to show the speed of the car or road as in photo 1.
The following video may help you.
Hello friends, Today is international Bicycle day and hence I made this beautiful Bicycle. Make it and gift it to your grand kids and give...


