Hello friends,
Ganesh - Utsav is coming in next month so I made this beautiful Lord Ganesh Idol. I always thought of making such Ganeshji's idol but this year I am able to make. (I think it;s what Ganeshji's wish)
So let's pray Ganapati Bappa for better creativity and start to make this.....
For this I use 4 ply Vardhamaan Millenium yarn and 1.75 mm for idol and 3.5 mm for Aasan and Umbrella.
The height of the show piece is 10" and height of the idol 6".
HEAD: With pink yarn...
R1: ch1, sc6 in magic loop, don't close. Place marker at first stitch in every round.
R2: sc2 in each st, (12)
R3: (sc1 in 1 st, sc2 in next) 6 times, (18)
R4: (sc1 in 2 st, sc2 in next) 6 times, (24)
R5: (sc1 in 3 st, sc2 in next) 6 times, (30)

R6 to R13: sc1 in each st (30).
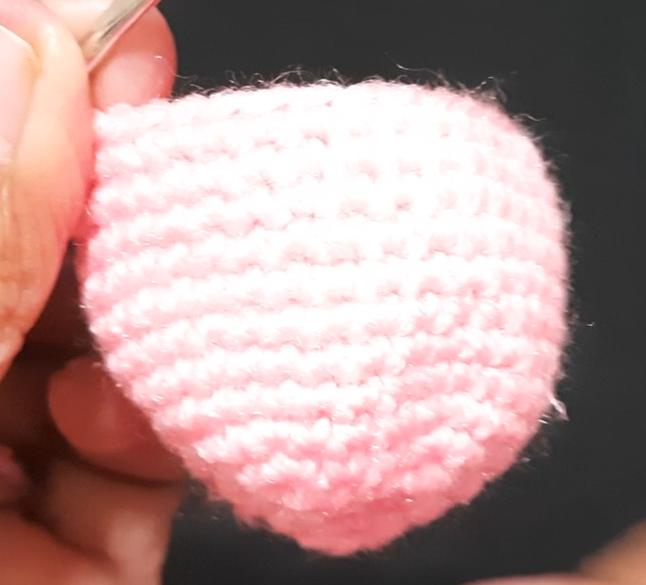
R14: (sc1 in 3 sts, 2sctog) 6 times, (24)

R15: (sc1 in 2 sts, 2sctog) 6 times, (18)
R14: (sc1 in 1 sts, 2sctog) 6 times, (12), BO.

In every piece bind off with long yarn end which will be useful for sewing parts.
BODY: with dark pink yarn,
R1: ch1, sc6 in magic loop, don't close. Place marker at first stitch in every round.
R2: sc2 in each st, (12)
R3: (sc1 in 1 st, sc2 in next) 6 times, (18)
R4: (sc1 in 2 st, sc2 in next) 6 times, (24)
R5: (sc1 in 3 st, sc2 in next) 6 times, (30).

R6 to R10: sc1 in each st (30)

Now with Pink yarn....
R11 to R16: sc 1 in each st (30)

R17: (sc1 in 3 sts, 2sctog) 6 times, (24)
R18: (sc1 in 2 sts, 2sctog) 6 times, (18)
R19: (sc1 in 1 sts, 2sctog) 6 times, (12), BO.


HANDS: With pink yarn make two....
R1: ch1, sc6 in magic loop
R2 to R4: sc 1 in each st (6)
R5: (sc1 in 1 st, sc2 next) 3 times (9)

R6 to R13: sc1 in each st (9)


LEGS: start with pink yarn....
R1: ch1, sc6 in magic loop.
R2 to R4: sc1 in each st (6), BO.

R5: Join dark pink yarn, (sc1 in 1 st, sc2 in next) 3 times, (9)

R6 to R8: sc1 in each st (9)
R9: (sc1 in 2 sts, sc2 next) 3 times, (12)

R10 to R12: sc1 in each st (12)
R13: (sc1 in 3 sts, sc2 next) 3 times, (15)
R14 to R16: sc1 in each st (15)

TRUNK: with light pink yarn...
R1: ch1, sc6 in magic loop
R2 to R3: sc1 in each st (6),
R4: (sc1 in 1 st, sc2 next) 3 times (9)

R5 to R7: sc1 in each st (9)
R8: (sc1 in 2 sts, sc2 next) 3 times, (12)
R9 to R11: sc 1 in each st (12)
R12: (sc1 in 3 sts, sc2 next) 3 times, (15)
R13 to R14: sc1 in each st (15)

EARS: With pink yarn make 2...
Row 1: ch3, skip first ch and sc1 in 2 chs (2)
R2: ch1 turn, sc 1 in 1 st, sc2 next (3)
R3: ch1 turn, sc1 in each st (3)
R4: ch1 turn, sc1 in each st, sc2 in last (4)
R5: ch1 turn, sc1 in each st (4)
R6: ch1 turn, sc1 in each st, sc2 in last (5)
R7: ch1 turn, sc1 in each st (5)
R8: ch1 turn, sc1 in each st, sc2 in last (6)

R9: ch1 turn, sc1 in each st (6)
R10: ch1 turn, sc1 in each st, sc2 in last (7)
Now make sc1 in each row-space of single crochet along the side, lastly make 2sctog at bottom.

For other ear increase at first stitch instead of last.
Row 1: ch3, skip first ch and sc1 in 2 chs (2)
R2: ch1 turn, sc2 in first st, sc1 in each of the remaining sts (3)
R3: ch1 turn, sc1 in each st (3)
R4: ch1 turn, sc2 in first st, sc1 in each of the remaining sts (4)
R5: ch1 turn, sc1 in each st (4)
R6: ch1 turn, sc2 in first st, sc1 in each of the remaining sts (5)
R7: ch1 turn, sc1 in each st (5)
R8: ch1 turn, sc2 in first st, sc1 in each of the remaining sts (6)
R9: ch1 turn, sc1 in each st (6)

R10: ch1 turn, sc2 in first st, sc1 in each of the remaining sts (7)
Now make sc1 in each row-space of single crochet along the side, lastly make 2sctog at bottom.

Then stuff cotton or fiber in head and body and sew then to each other, both has 12 sts.

Then stuff very little fiber in hands and legs sew them as shown in video.


While sewing Ears, first make running stitch on the side which we have to sew. Stretch the yarn to make it little fold (for both ears) and then sew the starting from 8th round from the top of the head.
Sew Trunk on 9th round from top as shown in video.


R1: ch1, sc6 in magic loop (6)
R2: sc2 in each st (12)
R3: sc1 in each st (12)
R4: (sc1 in 1 st, sc2 next) 6 times, (18)
R5: (sc1 in 2 sts, sc2 next) 6 times, (24)
Then sew this crown to the head.
Don't stuff in Trunk only sew it as shown.


WHEEL ON BACK SIDE OF CROWN: with Zari yarn,
R1: dc12 in magic loop, cl (First dc means ch3)
R2: dc2 in ech st, cl (24)
R3: ch1, (sc1 in 2 sts, ch4-picot) 12 times, cl, BO.
Sew this behind the Crown.


SHELA: With dark pink yarn,
Make chs 50+1
sc1 in each ch starting from second, ch2, sc1 in each st from other side, BO

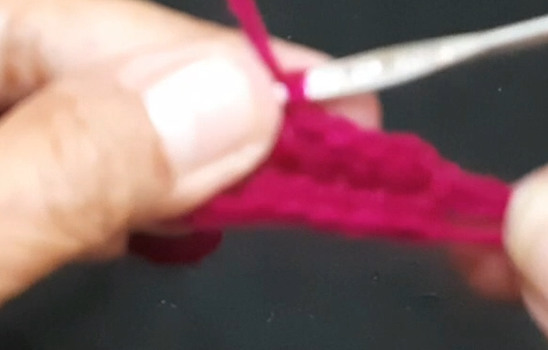
Then with Zari yarn, make slip stitches in the middle of both sc-lines.

Wear it as shown in the video on both shoulders og Ganeshji.
NECKLACE and HAND, LEG Accessories: With Zari yarn make chs 11+1.
R1: skip first ch and make (sl st 1, sc1, hdc1 in 2 sts, dc1 in 2 sts, ch4-picot, dc1 in next, hdc1 in 2 sts, sc1, sl st 1) with yarn ends tie it to neck and fix it with 1 stitch by tapestry needle.

Now for hand just make chs 10 and tie them at wrist.
For legs also make ch 10 and tie them in ankle of legs.

LADU: With orange yarn, make chs 2, elong the stitch, make 4dc-puff in first ch, ch2, sl st in first st.
Sew this Ladu on left palm.
Lastly make embroidery for eyes and U-shaped Gandh (गंध). Then a small line on trunk with running stitch and little dark yarn. Also make TIKA (टीका / टिळा ) on crocwn with red or dark pink yarn.
Beautiful idol of Ganeshji is ready.

In the next part we shall see how to make AASAN, LOAD and UMBRELLA for Ganeshji.
The following video with English subtitles may help you.
ETC: Enjoy the Creativity.