Blog about all crafts - knitting, crocheting, tatting etc.
Thursday, July 25, 2019
Beautiful Crochet Hair Band:
Fig 1
Hello friends,
Here is the crochet hair band I made for my little princess (grand daughter).
For this I used 4 ply Vardhamaan wool and UK 11 number crochet hook.
Start with 57 + 3 chains, see fig 2
Fig 2
Fig 3
Fig 4
R1: Double crochet (dc)1 in each stitch starting from third st.
R2: Ch 3 turn and again dc 1 in each st.
R3: Ch 3 turn, dc 1 in each of the first 14 sts. (Fig 2) then dc 2 in next st. then make 5-petals flower, considering these 2 dcs as central ring of flower. Flower: ch 2, dc2 in the second dc, ch 2, join in the second dc by slip stitch (sl st), one petal made. See fig 5. Make three such petals on the same dc (see fig 6) then turn little bit and make 2 more petals on the first dc (out of 2 dc made in 15th st). See fig 7 to know where to make 4th and 5th petals.
Fig 5
Fig 6
Make 2 more petals on this dc. Then flower is complete. See fig 8.
Then make dc 1 in each of the 6 sts. In the next st make again a flower as above. Fig 9
Fig 7
Fig 8
Fig 9
After 5 flowers make dc 1 in each of the last 14 sts.
R4: Ch 3, dc 1 in each of the st
R5: As R4.
We can see the hair band in the form as in fig 10.
Fig 10
Now if your baby is small then this will become big for her so we can fold and sew it, as in fig 1.
This beautiful hair band you can make easily, the following video with English subtitles will help you.
ETC: Enjoy the Creativity.
Thursday, July 18, 2019
Beautiful Summer Hat
Fig 1
Hello friends,
I am back in India but when I was in USA, summer started. So this beautiful summer hat (See fig 1) I made for my
granddaughter.
The original design is by Lyza Walters namely, Crochet Sparkly
Summer Sun Hat in 3 parts.
It’s really beautiful and I liked it, as soon as I
saw it, I decided to make it.
The size shown in the above link is for ladies where as I
have to make it for my 7 years granddaughter so I have to customise it and made corresponding changes.
Fig 2
Fig 3
1.I skipped row number 12 (Fig 2)
2.Instead of 4 lines of windows I did only three
that is skipped rows 18 and 19. See fig 3.
3.I didn’t have beads so skipped adding beads only
worked sc instead of that.
4.Also not worked cross around each bead rows,
lastly
5.Skipped last row.
Fig 4
Fig 5
Fig 6
The completed hat from inside can be seen in fig 4.
Then while making flower also I made some changes,
6.Some changes I had to do in making flower, the central part’s last round skipped, no beads.
7.Also instead of 10 ch petal I made only 9 ch petal.
The smaller version of flower also looked great! (Fig 5)
Fig 7
Fig 8
Thus the hat became perfect in fitting. Two different angles
of the hat can be seen in fig 6 and 7.
My daughter also like it very much so I made one big size
for her. See fig 8
It looks good but I thought perhaps I would have some better colour
yarn. It’s time to return back from USA and hence no time to buy new yarn. Any
way this also looks good.
ETC: Enjoy the Creativity.
Sunday, July 7, 2019
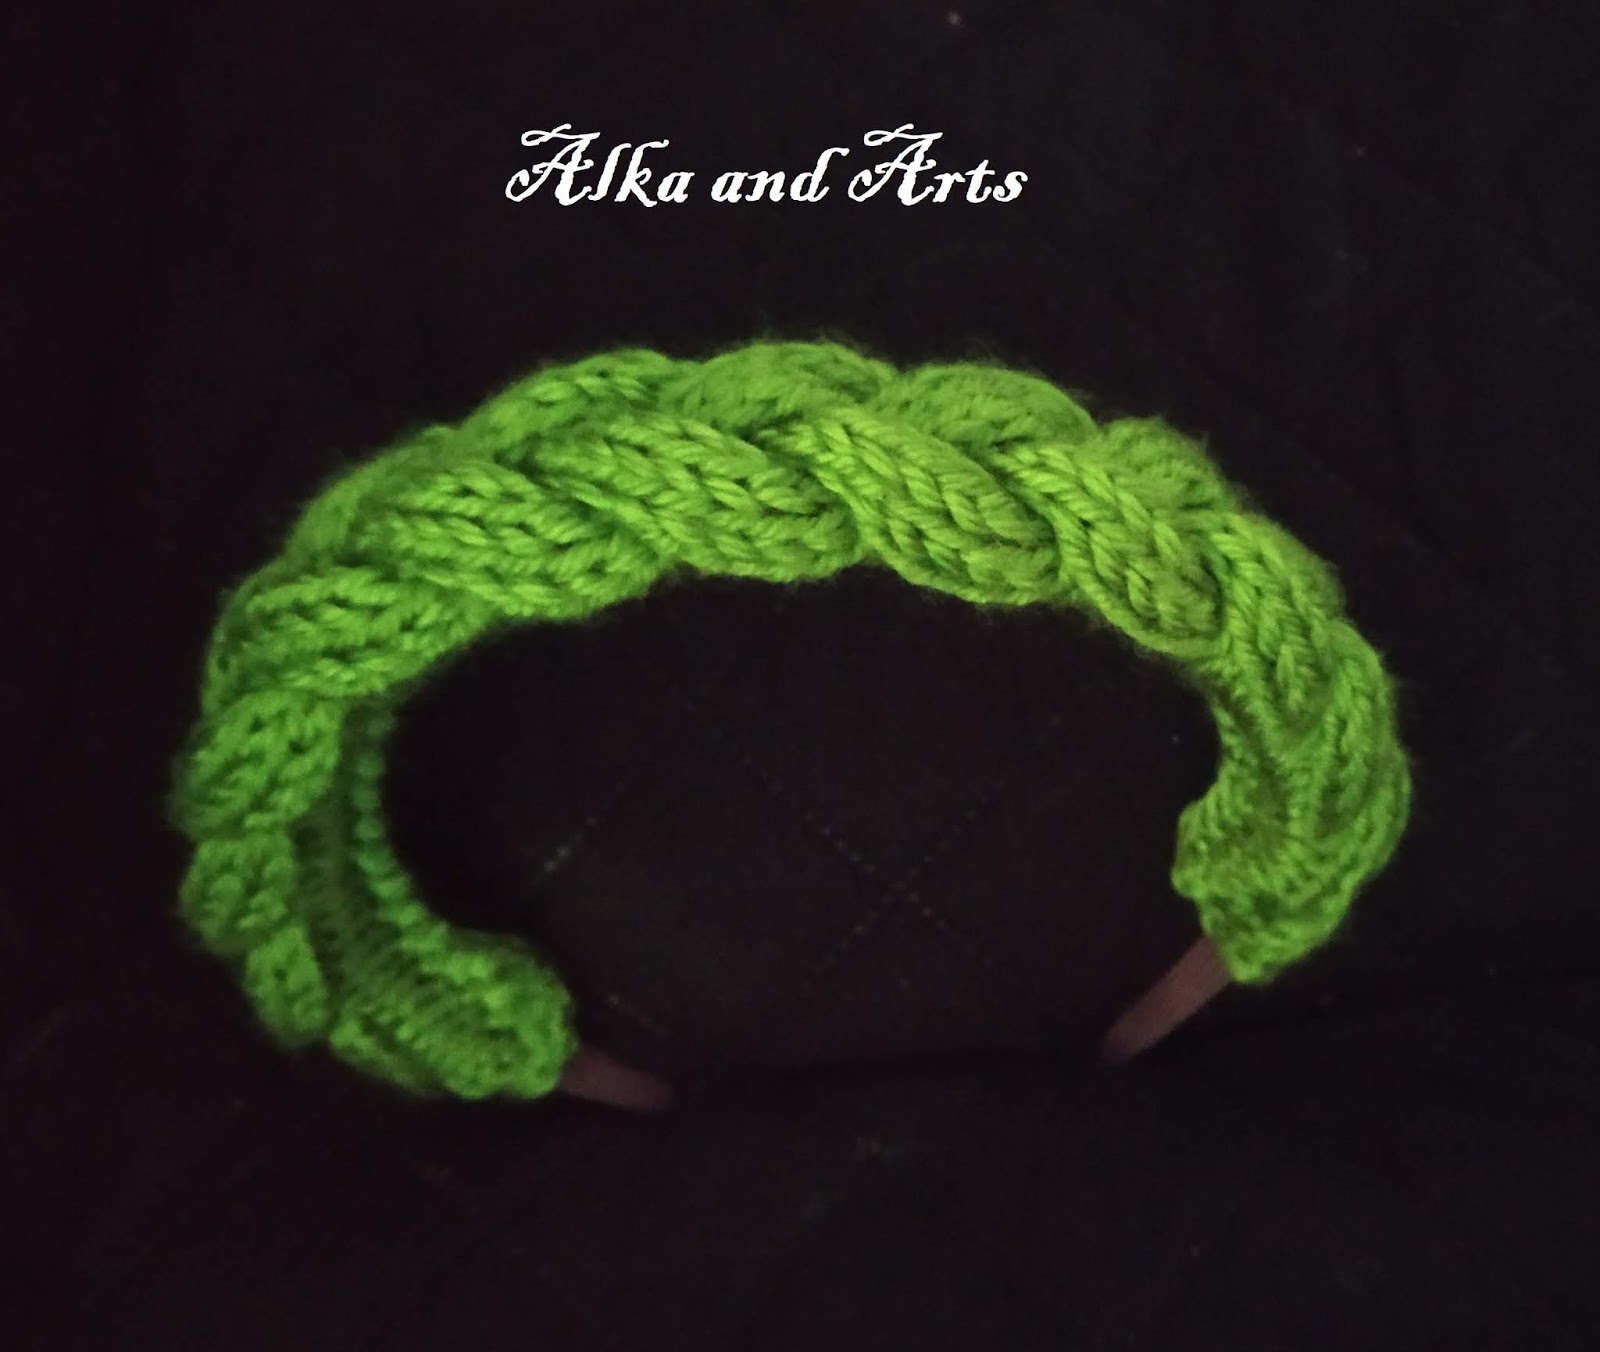
Knitted Hair Band / Head Band by Braided Stitch
Fig 1
Hello friends,
This knitted head band I made for my elder granddaughter.
Fig 1.
Here I used simple braided stitch. I made a strip of sts and
then fix it to one old head band. Thus make it new. See fig 2.
Cast on 14 sts
R1: (WS) K4, P6, K4
On middle 6 sts I worked cable and first and last 4 sts in
Stockinette st
R2: (RS) P4, place 2 sts on cable (as if to purl), place
them on front side, knit 3rd and 4th st K2, knit 2 sts on
cable needle, lastly knit 5th and 6th st, P4
Fig 2
R3: K4, P6, K4
R4: P4, K2 first and second st out of 6 sts of cable, place
3rd and 4th st on cable and place them on back side, knit
5th and 6th st, then knit 2 sts on cable, P4
R5: K4, P6, K4
R6: P4, K6, P4
Repeat rows 1 to 6 again and again till the required length
of the head band.
Then if you want you can decorate it with beads so that it
will be party wear.
Another angle of the same in fig 3.
Fig 3
The following video with English subtitle may help you,
I made this cute crochet baby dress (fig 1) for the
granddaughter of my close friend. It is yoke type seamless dress. It fits for 1
year baby.
I used Vardhamaan 4 ply wool, white and pink colors and 3.25
mm crochet hook.
To start with make 67 chains with white yarn.
Row 1: (RS) Single crochet (sc)1 in each chain (ch) starting
from second (66 sts)
R2: (WS) ch 1 turn, sc 1 in each st.
R3: ch 1 turn, sc 1 in each of the first 3 sts, ch2, skip 1
st make sc 1 in the next st, (buttonhole made) sc 1 in each of the next st till
end. (Fig 2)
Fig 2
Fig 3
R4: INCREASE ROW: ch 1 turn, sc 1 in each of the next
7 (5 for button band+2) sts, ( sc 2 in next st, sc 1 in each of next 2 sts)
repeat till the last 5 sts (for buttonhole band), sc 1 in each of these 5 sts.
(84 st)
R5: ch 1 turn, sc 1 in each st till end. (fig 3)
Fig 4
COLOR CHANGE ROW: You can refer the video below for
joining the yarn in crochet work,
R6: (WS), ch 1 turn, hdc1 in each of the 5 sts with white
yarn, join pink yarn, hdc 1 in each st till last 5 sts remain, join second
white yarn ball and make hdc 1 in each of last 5 sts by white yarn. (Fig 4)
Fig 5
Fig 6
R7: ch 1 turn, sc 1 in each of first 5 sts with white yarn,
join pink, work back loop single crochet (blsc) 1 in each of the next st till
last 5 sts remain by pink yarn, sc 1 in each of last 5 sts by white. (fig 5)
Repeat rows 2 to 7 two more times. Rows 19 worked out. See fig 6.
Fig 7
Fig 8
After Row 10 and after 16th row which will be
increase rows, your number of sts will be 108 and 140 respectively.
Then divide 140 sts in five parts as follows and place
markers accordingly,
140= 23 front + 27 sleeve+ 40 back+ 27 sleeve+ 23 front
part.
Now we shall work only two front parts and back also we add
3 chains as under arm increase on both sides that is we have 23+3+40+3+23= 92
sts
R20: INCREASE ROW: As R4. Now total stitches will be
119. Fig 7. Now for the bottom part of the sweater we are working Fan’s
stitch for which we need, multiple of 6 plus 1 sts (so that symmetry on both
sides of bands should be maintained) and here we have 119-10 sts of button band
and buttonhole band that is 109 sts which are perfectly as we need because 109 =
18x6+1. But this fan’s stitch should be started from WS so one more row I
worked as follows,
R21: (RS) ch3 count and first double crochet (dc) turn and
dc 1 in each st till end. Fig 8.
Fig 9
Fig 10
R22: (WS) ch 2 turn (not considered as first dc), dc 1 in
each of the 5 sts, dc 1 in next st, [ch2, skip 2 sts, sc1 in next st, ch 2,
skip 2 sts, dc 1 in next st] repeat till last 5 sts, dc 1 in each of these 5
sts. Fig 9.
Fig 11
Fig 12
R23: (RS) ch 1 turn, (dc 5 in the sc 1 st of previous row, join
to the dc stitch of the previous row by sc) repeat till last 5 sts remain, dc 1
in each of these 5 sts. Fig 10, 11.
R24: (WS) ch 5 turn, (sc 1 on the third dc (out of 5 of fan) of previous row, ch 2, dc 1 on the sc 1 of the previous row) repeat till last 5 sts remain, dc 1 on each of these 5 sts
Repeat row 23 and 24 till the total height if 11”. Fig 12.
End with row 24.
Fig 13
Fig 14
Then we shall work border. (See fig 13)
R1 of border: (RS) ch 1 turn, sc 1 on each of sc and dc of
previous row and sc 2 in each of ch-2 gap
R2: (WS) As per row 6 of yoke with white and pink both
colors.
R3: As per R7 of yoke (with white and pink).
R4: ch 1 turn sc 1 on each st,
R5: As R4 above.
R6: As per row 6 of yoke with white and pink both colors.
R7: As per R7 of yoke (with white and pink). See fig 14.
My beautiful pink and white sweater is ready.
If you need some help, you can watch this video with English subtitles,
ETC: Enjoy the Creativity
Thursday, June 20, 2019
Knitted Prayer Rug:
Fig 1
Hi friends,
Making Prayer rug (Aasan) is a common thing in India. I have posted a simple prayer rug made on Jute cloth by embroidery threads with cross stitch, see fig 2, by my Mom. See the post https://alkaandart.blogspot.com/search?q=My+mom%27s+creation
The first prayer rug I made was just sewing lace on red velvet cloth. Fig 3
Fig 2
Fig 3
This prayer rug shown is fig 1 is my first knitted rug. When I saw Metered stitch I liked it and I decided to make Prayer rug.
This was made in a thick yarn (6ply) with UK 9 number knitting needles.
I made four parts and then they are sewed together to form a rug.
Fig 4
Fig 5
Add caption
First I made a sample which I can use as a table mat see fig 5. This table mat started by casting 40 stitches.
R1: All knit and place the marker in the centre.
R2 Knit till 2 sts to marker, K2tog, slip the marker, SSK (Slip slip knit means slip two sts one by one as if to knit then take them on left needle and knit two together from back side, K remaining sts.
Repeat Row 1 and 2 till 2 sts remain, then K2tog.
I have also changed the colour after 2 rows for getting 5 strips of black colour.
I made such four pieces and join them.
Table mat will be ready.
For Prayer rug I have started with 100 sts and the same thick yarn.
You can also make Baby blanket with colourful square pieces and joining them.
The following video may help you to see Mitered stitch.
Link to the video,
ETC: Enjoy the Creativity
Saturday, June 15, 2019
Forty Seven Years Waiting:
Fig 1
Hi,
As I have said repeatedly that I am lover of any form of art. Painting and Drawing is also one of them. I had some paintings when I was in second year of my B. Sc. in 1972, I have morning college and that noon time I used for this hobby. I made some acrylic painting, some paintings on glass, some oil paint frames etc. Forty five years passed away and I even didn't have any of it's photo or some thing like that. But as I remembered those were good. (No proof, so I can say that 😝)
Actually drawing and painting should be hereditary art in me as my father was the artist. His business was to paint the movies banners for advertise in front of theatres as I have mentioned in one of my post, My Mom's Creations with link, https://alkaandart.blogspot.com/search?q=mom
My brother is a great artist too. The sketch of world fame Lata Mangeshkar, India's top most singer, is appreciated by Lata Mangeshkar herself by talking him and that is a pride movement for all of us. See fig 2
Fig 2
I admit that I am not even 1% of that but as I always said '"creativity should be enjoyed" and that why after retirement the idea came in my mind that since 45 years I have not painted any thing, so now I should try. But any how it doesn't comes to reality for still two more years after retirement (busy in some other hobbies).
For painting, I thought that I will have to start from shopping like brushes, colours, canvas and all. Moreover I didn't have confidence that I can paint better. Once when I told this to my son he insisted me to start to paint some thing at his home in USA, brushes, colours were already with him but I think time has to come.....
Then I came to my daughter (in USA) where my grand daughter is 7 years old and good artist too. When she took her colour box out and paint, I was tempted to take colours in my hand and then extremely inspired to paint. There were crayon colours, coloured pencils, water colour, acrylic colour etc. I wanted to do with acrylic but didn't dare to start with Acrylic. I thought, let us start with Crayon, the toddler's colour. I knew that detailing is not possible with these colours, still I wanted to try.
I started with black pencil rough picture and then crayons.......
In half an hour I completed that and I cannot explain, how happy I was!!!
Forty seven years has to go to take colours in hand for painting.
Sunday, June 9, 2019
Spiral Crochet Toran:
Fig 1
Hello friends,
Crochet Spirals look very beautiful and can be used in many hand made items. Just as I used it in making Toran (door decor), we may use it in frock bottom, decorate curtain or to decorate bags, purses etc.
Toran Patti: Upper Green Part: Make chains (ch) as many as the width of the door plus 3 chains (as a first double crochet - dc). They should be multiple of 4+2.
R1: dc 1 on each ch. Then ch 3 turn,
R2: dc 1 in next st, (ch 2, skip 2 sts, dc 1 in each of the next two sts) repeat till end, ch 5 turn,
R3: (dc 2 in 2-ch gap of previous row, ch 2) repeat, dc 1 in the third ch out of 5 chains in the previous row. Ch 3 turn,
R4: dc 1 in each of the next sts, ch 3 turn
R5: As row 4 only join yellow colour in the last part of the last dc 1 then ch 3 and turn
R6: As row 4 with yellow colour. Lastly ch 1 turn.
Then I have divided the total number of sts in 12 parts and decided to make 13 spirals each of 10 sts with central spiral big one of 15 sts. Place 13 markers at each place where spirals are to be done.
R7: spiral at next st, (sc 1 in each st till the second marker, spiral at the second marker st) repeat till the central marker comes. Then make bigger spiral at the centre. (sc 1 in each st till the second marker, spiral at the second marker st) repeat till end.
First as a practice I tried one spiral with different yarn. For that I made 15 chs and rows of dc on that. In the centre of that piece that is on 8th st, I am going to make a spiral. See fig 2.
Fig 2
Fig 3
Making Spiral: Crochet hook is at the st where the spiral is to be made. Now make ch 10 (See fig 3).
Then make ch 6 ( 3 as first dc and 3 to make one picot at the end of dc. Then slip st on 4th ch so that 3-ch picot made. (dc 1, ch-3 picot on the same st) repeat 2 more times. Fig 4
Fig 4
Fig 5
Fig 6
Then make (dc 1, ch-3 picot) see fig 5 three more times, see fig 6.
Now make dc 1, ch-3 picot four times in every chain till the last ch comes.
In the last ch work dc 1, ch-3 picot, twice then hdc 1, ch-3 picot, sc 1, ch-3 picot, lastly join with the starting point of
Fig 7
the spiral by single crochet. See fig 7. The spiral of 10 chs made.
In the centre make a spiral of 15 chains which will look as in fig 8.
Then again I complete all the remaining spirals and see fig 1, the Toran is ready.
Fig 8
Fig 9
Fig 10
Add caption
It is the beautiful way to welcome your guest. You can use this in some other events also, just as I used it as Rangoli, for decorating around the plate of guest, please see my post,